Requirements
- DigitalOcean Account
- Domain (Optional)
Create Dockerfile
Create the Dockerfile on your site root, let’s take HugoMods Docker image (hugomods/hugo:exts) as an example.
1FROM hugomods/hugo:exts
2
3COPY . /src
4
5# Uncomment below to install dependencies via NPM, it depends on your site.
6# RUN npm i
7
8# Build site.
9RUN hugo --minify
In this Dockerfile, it copies the site source file to /src, install dependencies (it depends on your site) and build the site.
Please note that the public/output directory should be /src/public by default, which will be used in subsequent steps.
Create App
- Navigate to DigitalOcean Dashboard.
- Navigate to the Apps page.
- Click the Create App button.
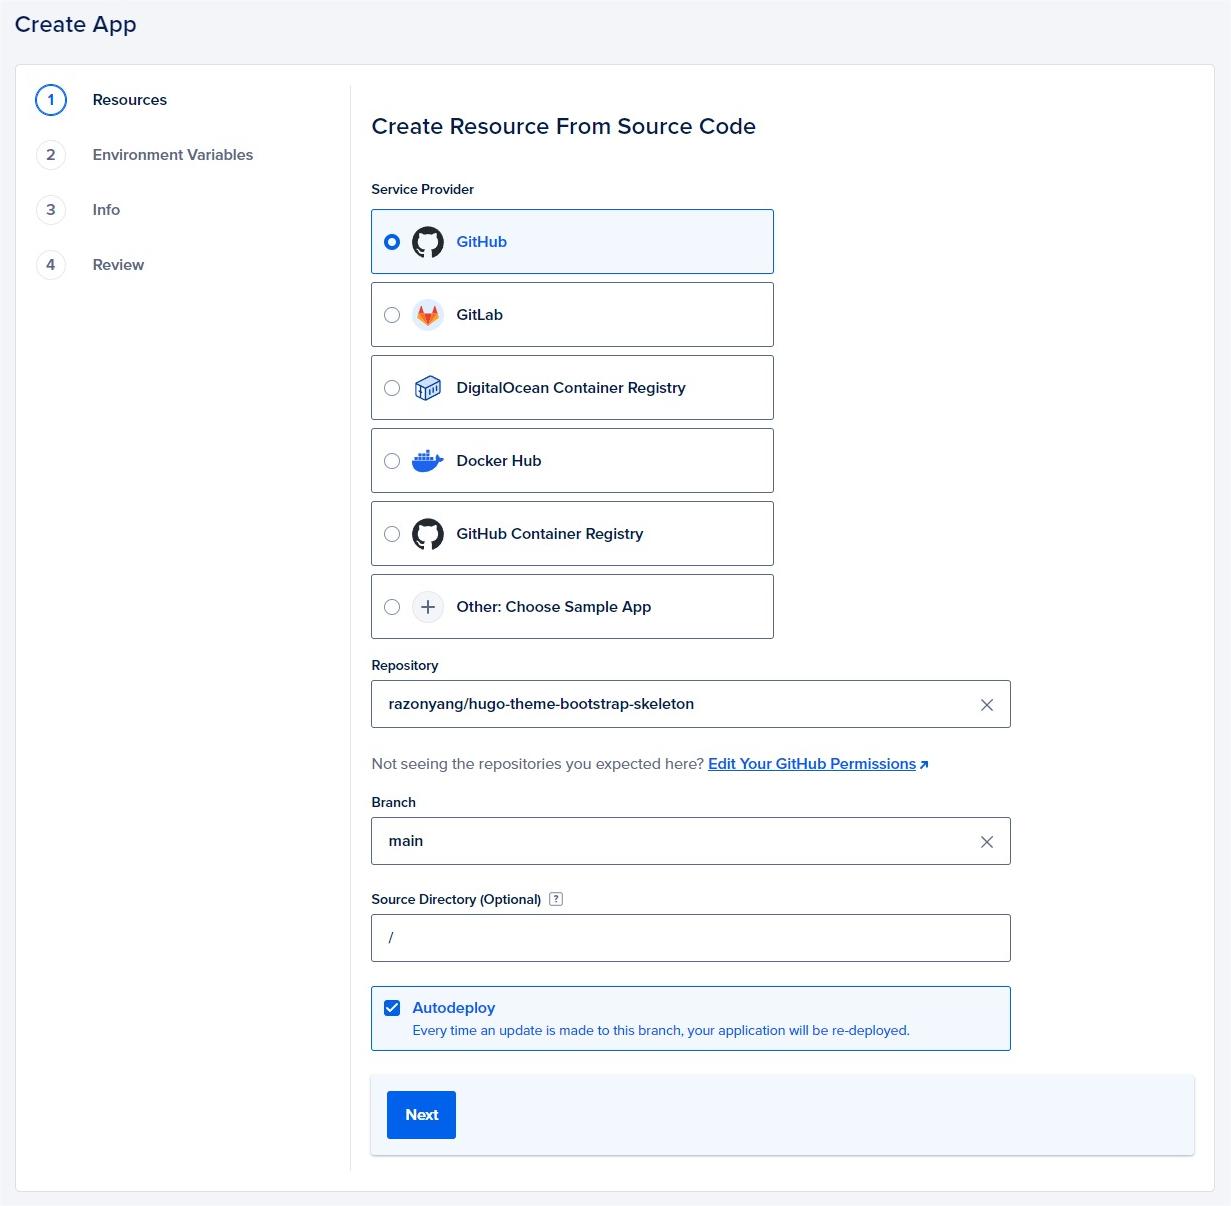
- Fill up the form as follows.
Alternatively, you can click the Create button on the dashboard header, and then select the Apps option.

Tweak Resources
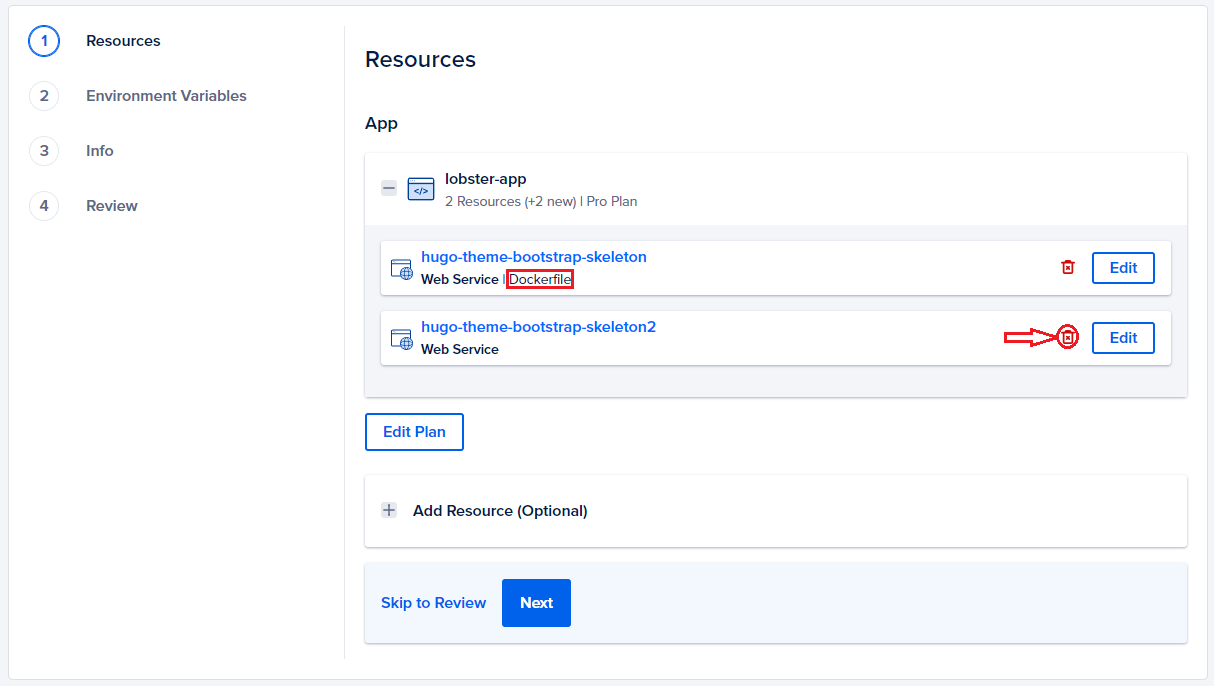
In this step, we’ll need to tweak the resources, since currently DigitalOcean app platform Buildpack unable to detect Hugo sites those configured via configuration directory.

You may see multiple resources as image above shown, you’ll need to remove unnecessary resources except the one in type Dockerfile.
Edit Dockerfile Resources
Since the web service isn’t non free, so we need to edit the Dockerfile resource to be a static site.
- Click the
Editbutton on the right of the Dockerfile resource, then you’ll be navigated to the resource setting panel. - Edit the Resource Type and change it to Static Site.
- Edit the Output Directory and set it as
/src/public.

Once done, you will get the above similar settings, now let’s click the Back button to check the resources.
If everything goes fine, you should got only one resource, which is in type Static Site | Dockerfile.
Review App
Please reviewing the billing section, you won’t be charged if you deploy not more than 3 static sites.
Please note that exceeded bandwidth (outbound transfer) usage will be charged, read more on pricing.
Deploy App
It’s time to deploy site by clicking the Create Resources button if everything is OK.
What’s Next?
Once the app was created, it will be deployed automatically, you can then check the build logs if something went wrong. You’ll able to customize domain after deploying successfully.


